
How to Apply Eyeshadow Step by Step: Placement, Blending, and Glitter
A practical eye makeup tutorial with safety limits
If you are searching for how to put on eyeshadow step by step, the useful answer is a small sequence: prepare a clean, dry lid; place a light transition shade where you can see it with eyes open; add depth in short passes; put the brightest or shiniest shade only where you want attention; then soften the edges without erasing the shape. Learning how to apply eyeshadow step by step pictures can help you recognize placement, but the exact crease, lid space, and angle differ from one person to the next. Treat a photo as a map, not a rule about what your eye should look like.
This guide shows the best way to apply eyeshadow for a simple daytime look, a more defined crease, and a restrained glitter accent. It explains brush choice, hooded and monolid adjustments, how to fix patchiness or fallout, and when to stop. No single technique or palette works for every eye, and there is no need to copy a trend that feels uncomfortable.

Quick version: use a clean brush, pick up a small amount, tap away loose powder, and build in thin layers. Start with the least intense shade. Blend the outer edge with a clean, soft brush. If the result looks too strong, use a little of the surrounding skin tone or a clean brush to soften the border; do not keep adding color everywhere to solve one dark patch.
Eyeshadow is cosmetic color. It can change the appearance of lid shape or add contrast, but it does not change the eye, lift the lid, or treat a skin condition. Product labels and directions determine whether a formula is intended for the eye area. If a product stings, causes irritation, or is not labeled for eye use, stop using it near the eyes.

1. Map the eye you have, not an idealized diagram
Before choosing a shade, look straight into a mirror in even light. Notice how much mobile lid remains visible when your eyes are relaxed and open. Find the lash line, the fold if one is visible, and the area above that fold where color can be seen. Close the eye briefly to place product, then open it again to check the shape. This simple check prevents a common mismatch: blending a crease color high on a closed lid, then finding that it disappears when the eyes are open.
The crease is a moving fold, not a fixed line that sits in the same place for everyone. A hooded lid may cover part of the mobile lid when the eye is open. A monolid may have no distinct crease. Deep-set eyes may cast their own shadow. Mature lids can have more texture or folds. Round, almond, downturned, and upturned descriptions are loose visual shorthand, not diagnoses and not instructions that dictate one correct shape.
Instead of trying to draw a particular eye shape, decide what you want the color to do. You might want a soft wash across the lid, a little depth at the outer corner, a brighter center, or a thin line of shimmer. Use the visible area as your canvas and stop when the look feels balanced to you.

2. Prepare the lid and choose a simple tool set
Remove leftover shadow and check that the lid is comfortable. If you use a moisturizer or sunscreen on the surrounding face, let it settle before eye makeup; a wet or slippery surface can make powder move. Do not put a face product close to the lash line unless its label says it is intended for that area. If you wear contact lenses, follow your lens-care instructions and the advice of your eye-care professional.
You can start with one small, clean flat brush for placing color and one soft blending brush for edges. A smaller pencil brush can add detail, but it is optional. A fingertip can press some shimmer textures onto the center of the lid when the product directions allow it. Fingers are not automatically cleaner or better than brushes; wash them first, and avoid touching the eye itself.
Primer is optional. A thin layer can make some powder formulas grip more evenly, but too much base may feel tacky or crease. A small amount of concealer is sometimes used as a base, but concealer can move or crease on some lids. The product's intended use matters: do not move a face product into the eye area unless the label supports that use. If your bare lid is comfortable and color blends well, you may not need a separate primer.
Keep a tissue or a clean dry brush nearby. If you need to wipe away powder, a clean, dry tool gives you more control than rubbing the delicate eye area. Wash reusable brushes according to the manufacturer's instructions and let them dry fully before use.
3. Learn the basic color map
Many simple looks use three kinds of placement. These are useful names for locations, not mandatory rules about shade or eye shape:
- Base or lid shade: a light or medium color placed across the visible lid to even out the look or give the later shades something to blend into.
- Transition shade: a soft, usually matte color blended above the lid color. On a visible crease, it can sit near the fold; on a hooded or monolid eye, place it where you want the color to remain visible when the eyes are open.
- Depth shade: a deeper color used in a smaller area, often the outer third or close to the lash line. Smaller placement is easier to control than a wide dark stripe.
- Light-catching shade: a satin, shimmer, or glitter finish placed where you want a highlight. Keep it within the product's labeled eye-use area.
Think in terms of value before color: light, medium, and deep. A palette with many pans may look complex, but the first practice look can use one light, one medium, and one deeper shade. Similar color families are not required. A cool taupe can work with a warm brown if the result is intentional and you blend the boundary. The goal is an edge that looks deliberate, not a perfectly invisible gradient at any cost.

4. Apply eyeshadow step by step
- Set your light. Face a window or a stable lamp so both eyes are evenly visible. Keep the mirror where you can look forward without lifting your chin too much.
- Tap off loose powder. Touch the brush into the pan with light pressure, then tap the handle once over the palette. This reduces the loose powder that can fall under the eye. Avoid scraping or crushing pans unless the product directions ask for it.
- Lay down the lightest shade. Sweep a thin layer over the visible lid, stopping short of the inner corner if that area is sensitive. If you want a very simple look, you can stop here and soften the upper edge with a clean brush.
- Place the medium shade where it will show. With eyes open, locate the visible area above the fold. Use a small windshield-wiper motion, a gentle tapping motion, or short overlapping strokes. Keep the color close to the area you chose instead of sweeping it toward the eyebrow.
- Add depth in short passes. Put a small amount of the deeper shade on the outer third or close to the lash line. Build one thin layer at a time. Pause between passes and look straight ahead. If the outer corner becomes a dark block, do not spread more pigment; soften just its border with a clean brush.
- Check both eyes from a normal viewing distance. Look forward, blink naturally, and compare the visible shape. Symmetry does not mean identical anatomy. Adjust the result by matching the overall balance and intensity, not by forcing the same crease placement on both eyes.
- Finish only if you want to. Add a satin shade to the center of the lid or a narrow accent near the lash line. Keep the finish away from the waterline unless the product specifically directs that use.
Pressing and sweeping serve different jobs. A press can place color without moving the skin as much; a light sweep can soften the boundary. Use the smallest motion that gives you the result. A heavy back-and-forth scrub tends to move pigment beyond the chosen area and can make a simple look harder to correct.

5. Blend the edge without erasing the color
Blending is not the same as making every color disappear into one shade. The practical goal is a soft border between colors, while the area where you intentionally placed depth remains visible. Use a clean, dry, fluffy brush with very light pressure. Start at the edge of the darker patch and make small circles or short side-to-side strokes. Stop often to check the shape with eyes open.
If the color vanishes, you may be blending over too much of the lid or using a brush loaded with pigment. Wipe the brush on a clean tissue or switch to a clean one. Put a fresh, small amount of the original medium shade at the boundary if needed. Avoid adding an unrelated lighter shade across the whole area; it can make the blend look chalky and widen the shape.
For a crisp outer edge, you can keep the look rounded and soft, or use a clean cotton swab to lift a small amount of powder. Do not pull the eyelid tightly or scrape at the skin. Tape and sharp-edged tools are optional shortcuts, not requirements, and can irritate some people. If you use a guide, make sure the adhesive is intended for skin and remove it gently.
Choose a formula and finish for the movement you want
Powder palettes are convenient for gradual layering and blending. Cream shadows can be quick to place, but may need a different set time and can move on some lids. A stick can make a narrow stripe or quick wash; blend its edge before it sets if the directions allow. Liquid glitter can dry down, so place it precisely and follow its specific instructions. Product labels vary; the format name alone does not tell you the wear time, eye-area approval, or irritation risk.
Matte shades show shape without reflected shine, so they are often easier for a soft transition. Satin shades give a restrained reflection. Shimmer and glitter catch more light and may draw attention to texture or application edges. A high-shine finish can look different under indoor lighting, daylight, and flash. If you are unsure, place the reflective shade in a small area first and view it in the light where you expect to wear it.
At the time of the public-site review, the Eye & Brow Makeup collection showed several palette and glitter formats. The following are examples to inspect by exact product directions and shade, not rankings or tested recommendations. Confirm the current product page before choosing; product details and availability can change.
Ten current catalog examples by format
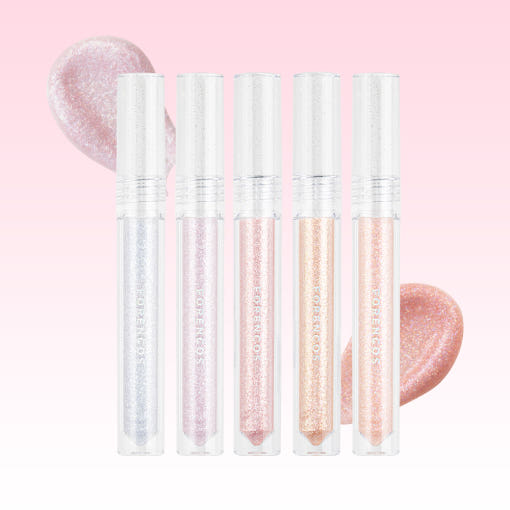
FORENCOS Starlight Liquid Glitter
A liquid-glitter format to consider for a small reflective accent. Review the exact eye-use directions and placement before applying.
View product details
MACQUEEN Jewel-Poten Eye Glitter
An eye-glitter listing whose public description names a quick-drying, pigmented formula. Check its label and exact placement directions.
View product details
lilybyred Mood Cheat Kit
A compact eye-color kit example for practicing a light-to-deep progression. Confirm its shades and contents on the product page.
View product details
ETUDE Play Color Eyes, Autumn Closet
A nine-color palette example for comparing matte, reflective, and deeper shades before building a look.
View product details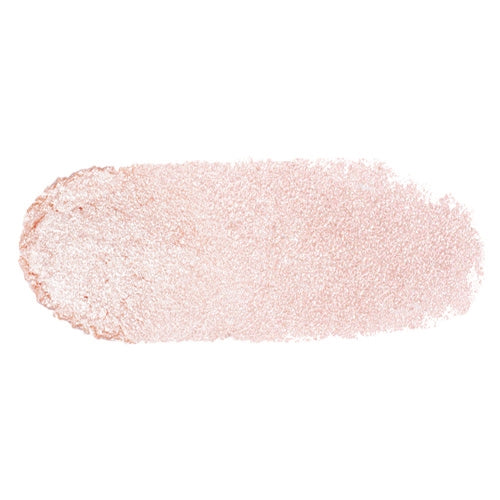
peripera Sugar Twinkle Duo Eye Stick
A stick-format example for a controlled line or a quick accent. Follow the labeled eye-area use and blend only as directed.
View product details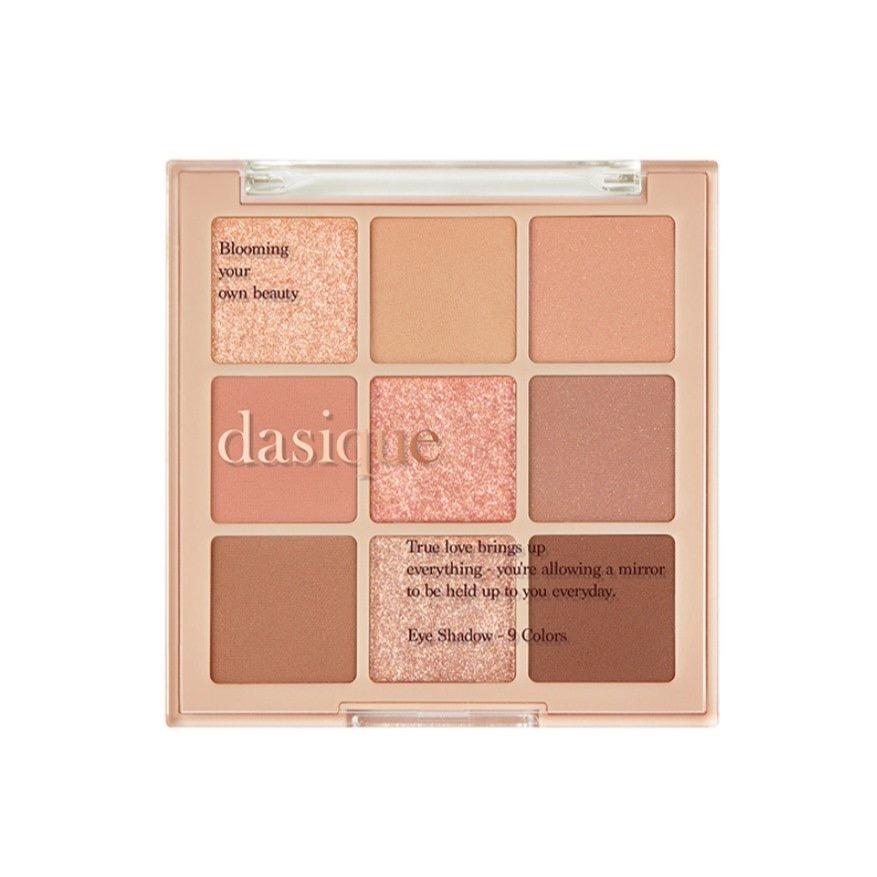
dasique Shadow Palette, Sunset Muhly
The public listing describes nine colors with matte, shimmer, and glitter finishes. Use the finish mix to plan a soft base with one focal accent.
View product details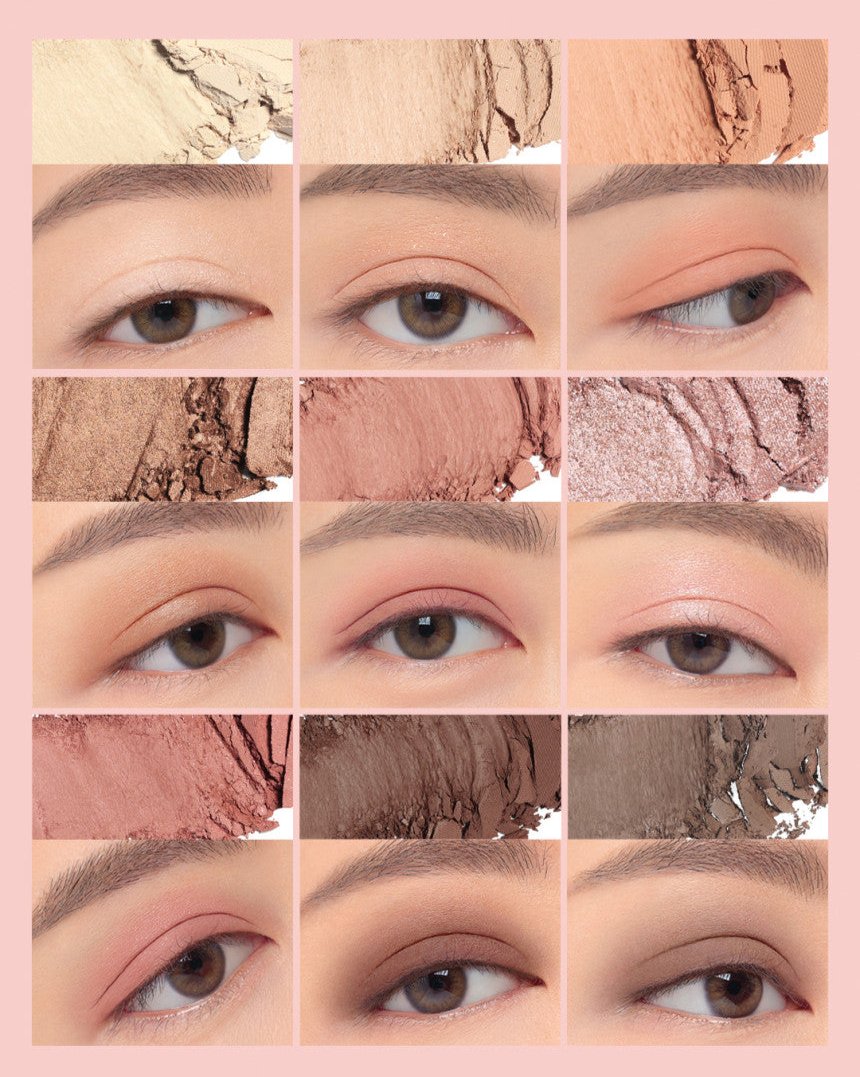
3CE Multi Eye Color Palette, Rosy Muhly
A color-story example for exploring soft rosy placement. Shade names do not guarantee how a color will appear on your skin.
View product details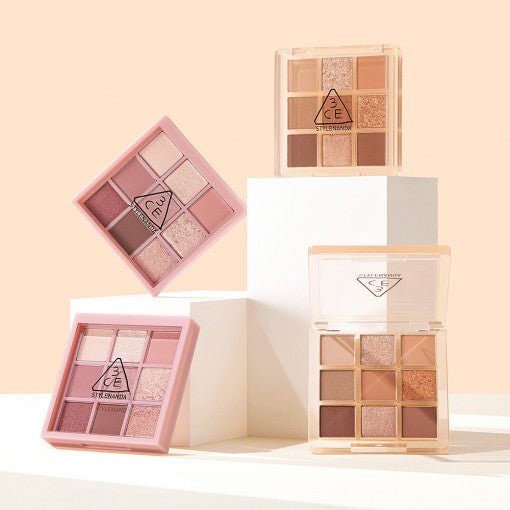
3CE Multi Eye Color Palette, Auto Focus
A separate palette option for practicing focused depth. Compare the exact shades and formula details on its own page.
View product details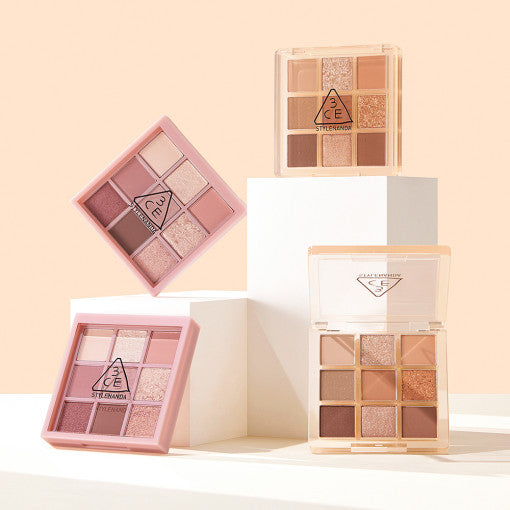
3CE Multi Eye Color Palette, A Shy Ash
A palette example to inspect for a cooler-looking color direction. Use the shade image as a starting point, then check it in your own light.
View product details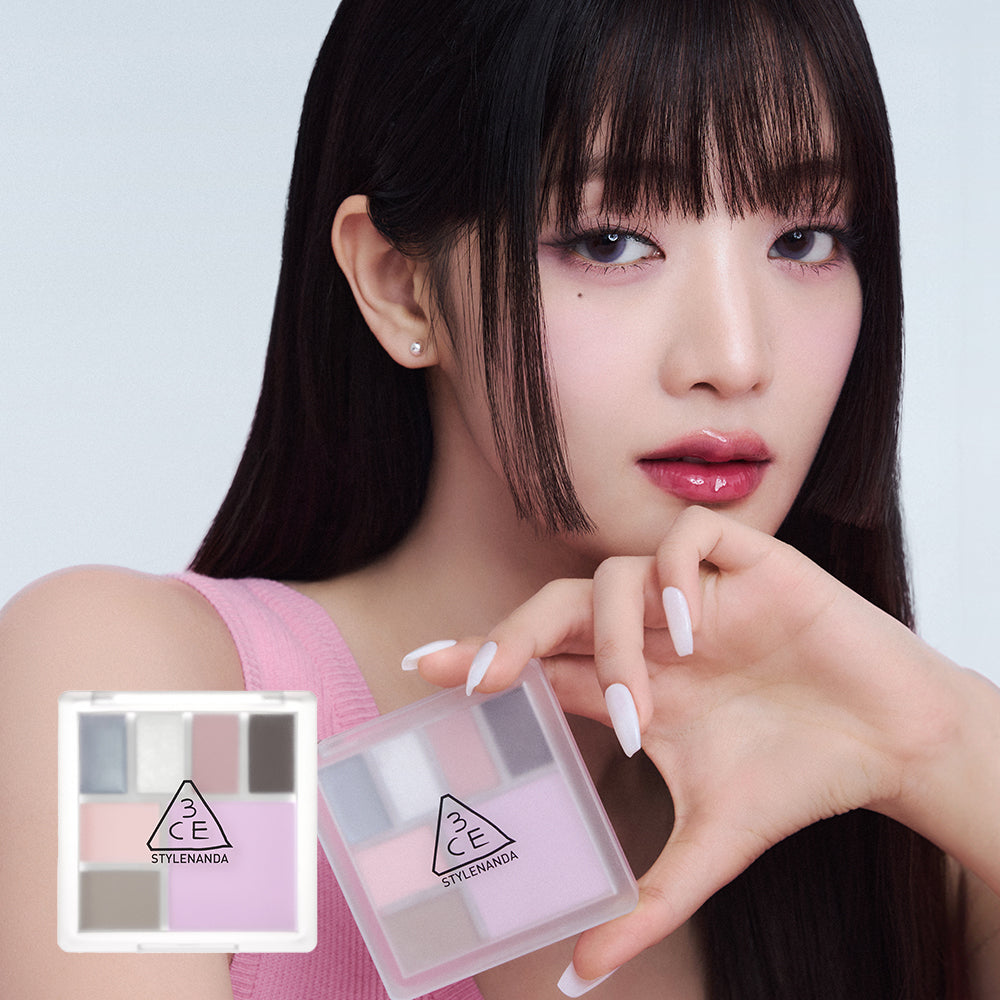
3CE All-Rounder Multi Palette
A multi-use palette listing. Check the product page to confirm which shades are intended for eye application before using any color near the eyes.
View product detailsCards are pointers to exact current listings, not independent safety certification or evidence of performance. Follow the label for eye-area use, test a new cosmetic cautiously, and stop if it causes irritation. Do not use price or inventory snapshots as a reason to select a product.

Make the same steps work with different lids
Hooded lids
Look straight ahead and place the transition color where it remains visible, rather than assuming the anatomical crease is the best guide. Keep the darkest shade close to the lash line or outer corner. If color transfers to the upper lid, try less product, a thinner base, and a short pause before opening your eyes fully. Do not push color far up the brow area just to create an artificial crease.
Monolids
Use the visible lid as your starting area. A soft gradient can move from a lighter inner or central zone to deeper color near the outer third, but it does not need to imitate a crease. If the eye is open and the color disappears, raise the blend slightly until it is visible, then stop before it reaches the brow. Small placements often read clearly on camera and in person.
Deep-set or prominent eyes
For deep-set eyes, a lighter or satin shade on a small central lid area can create contrast if that is the look you want. For more prominent eyes, matte shades can be an easy way to add definition without a large reflective area. These are options, not corrections. Keep the motion comfortable and use the balance you prefer.
Mature or textured lids
Fine lines and folds are normal skin features. If shimmer gathers where you do not want it, use less product and place it on a smaller area; try a matte or satin finish instead. A primer may help some formulas sit more evenly, but it can also create extra texture if layered heavily. Check the result with relaxed eyes rather than stretching the lid flat.
Build the look with the eyes open
Check the placement in the position people will see it. Use the fold as a clue, then let the visible lid and your comfort guide the height.


Three repeatable looks to practice
Two-shade everyday wash
Apply one light matte shade across the visible lid. Add one medium shade close to the outer lash line, then sweep its upper edge with a clean brush. Keep the inner lid lighter if you like contrast. This is a useful first exercise because it teaches color amount and boundary control without asking you to coordinate many pans.
Three-shade soft definition
Place a light shade on the lid, a medium transition shade where you want visible color with eyes open, and a deeper shade on a small outer area. Use the deeper shade with a small brush and stop before the dark patch becomes wider than the area you intended. If the result feels too strong, soften only the outside border with a clean brush.
Soft smoky eye
Start with a medium shade and build the deeper color close to the lash line. Work upward in small layers, keeping the top boundary soft. A smoky look is a gradient of controlled depth, not a ring of dark color all around the eye. Keep the lower lash area optional and use only a product intended for that location. If your eyes water or feel uncomfortable, remove the color gently and stop.
In all three looks, step back and check the balance before adding more. A finished eye can look different in a close mirror than it does at normal distance. If one eye is naturally more folded or asymmetric, a slight difference in placement can still read as balanced.

How to apply glitter eyeshadow with more control
Glitter is a finish, not a placement instruction. For a small accent, choose a product specifically labeled for the eye area, read its directions, and keep it where the label permits. Some products sold as glitter may differ in particle size, base, and intended use. Do not assume that a craft glitter or a face-only product is suitable for eyelids.
- Begin with the rest of the eye look already blended. This reduces the chance that a later brush will sweep glitter over a larger area.
- Use the applicator and amount described by the product maker. If the product dries quickly, work on one eye at a time and avoid repeatedly dragging the applicator over the skin.
- Keep the accent small at first, such as the center of the mobile lid. Look straight ahead to confirm it remains in the area you intended.
- Do not place glitter on the waterline or directly into the eye. Avoid rubbing. If particles migrate, stop and remove them carefully rather than adding more product.
- Follow the label for wear and removal. If the eye becomes irritated, stop use and rinse only as appropriate; seek professional care for persistent symptoms or an injury.
A glitter look does not require a heavy layer. A narrow reflective accent can give enough contrast. If fallout is a concern, apply eye color before complexion makeup or use a clean tissue beneath the eye while placing shadow. This is an optional cleanup strategy, not a reason to pull or tape the lower eyelid.
Troubleshooting: fix the cause instead of adding more color
| What you notice | First adjustment to try | What to avoid |
|---|---|---|
| Powder falls under the eye | Pick up less product, tap off excess, and press the brush onto the lid before sweeping. | Rubbing at the under-eye skin or applying more powder to cover fallout. |
| Color looks patchy | Check whether the base is wet or sticky. Use a thinner layer and blend with a clean tool in short strokes. | Layering several formulas before the surface settles. |
| The blend looks muddy | Use fewer neighboring shades and clean the blending brush between colors. | Repeatedly moving every shade through the entire lid. |
| The outer corner is too dark | Lift a little with a clean, dry brush or add a small amount of the surrounding skin-tone shade at the edge. | Spreading the dark shade farther inward to hide the border. |
| Shadow creases quickly | Try less product, a thinner base, or no base. Check whether the specific formula is intended to set or remain creamy. | Adding a thick layer of primer or powder without checking the formula directions. |
| Shimmer emphasizes texture | Use a smaller area, a finer-looking finish, or a matte/satin alternative. | Assuming the skin should be smooth or that more blending will remove natural texture. |
| Both eyes look different | Compare from normal distance with eyes open; adjust the overall visible height or intensity one small step at a time. | Pulling one lid tight and trying to force an identical crease. |
Make one change at a time. If you change the brush, primer, shade, and application pressure in a single attempt, you will not know what solved the issue. A quick note about the formula, brush, and placement can make the next practice session more useful.

Eye makeup safety, cleanup, and removal
Eye-area products deserve careful handling because the applicator and product can reach delicate skin or the eye. The FDA says to wash hands before applying eye cosmetics, use clean instruments, avoid sharing, keep containers clean, and avoid eye makeup when an infection or inflamed skin is present. If a cosmetic causes irritation, stop using it. Do not use a product near the eyes unless it is intended specifically for that use. Read the label rather than assuming that a color, glitter, or cream sold for the face is also suitable for eyelids.
Do not apply eye makeup in a moving vehicle. The FDA notes that a sudden stop can turn an applicator into an eye-injury risk. Keep products closed, avoid contamination, and follow the manufacturer's storage and discard advice. The FDA page states that manufacturers commonly recommend discarding mascara two to four months after purchase; that example applies to mascara and is not a universal expiration rule for every eyeshadow.
Remove eye makeup without aggressive rubbing. Follow the remover directions, use a clean pad or cloth, and let the remover loosen product before wiping gently. Avoid getting remover into the eye. If the label says to rinse, rinse as directed. Do not use saliva or water to re-wet dried mascara; FDA warns that adding either can introduce contamination or affect preservation.
If you wear contact lenses, have a diagnosed eye condition, or repeatedly react to a product, ask your eye-care professional about suitable products and routines. This guide is cosmetic technique information, not a substitute for care. Pain, persistent redness, swelling, discharge, a scratch, or vision changes deserve timely medical attention.
Related guides for the rest of a makeup routine
These public ProtoClinical guides answer adjacent questions about the base and finishing layers around eye makeup. They do not replace the eyeshadow steps above.
- Best Makeup for Skin: How to Choose a Format That Fits Your Face compares face-base formats.
- Korean Sunscreen That Feels Lightweight Under Makeup covers settling and makeup compatibility over sunscreen.
- Why Sunscreen Pills Under Makeup explains layer friction and practical tests.
- How to Reapply Korean Sunscreen Over Makeup and Bare Skin addresses sun-care refresh during the day.
- Korean Cushion Refill Compatibility: Compact & Shade Guide keeps complexion base and refill choices in their own lane.
Explore the current makeup collections
- Eye & Brow Makeup is the closest collection for eyeshadow, palettes, glitter, liner, mascara, and brow formats.
- Makeup is the wider color-cosmetics collection.
- Reusable Beauty Tools may help when you are comparing washable applicators and makeup tools.
- milktouch groups eye palettes and blush formats.
- Mude includes eye palettes among other makeup formats.
- Korean Mascara covers a neighboring eye-makeup category, not eyeshadow.
Frequently asked questions
What is the easiest way to apply eyeshadow for beginners?
Use one light shade across the visible lid and one medium shade on the outer part. Tap off excess and soften the border with a clean brush. Add a third, darker shade only after you can control where the first two go.
Should eyeshadow go on before or after foundation?
Either order can work. Powder fallout may be easier to clean before complexion makeup, while some people prefer to finish the base first. Choose the order that lets you clean up without rubbing. If sunscreen is part of the routine, apply it as a separate layer according to its label and avoid mixing it into makeup.
Do I need eyeshadow primer?
No. Primer is optional. It may help some formulas grip or wear more evenly, but the result depends on the products and lid. Try a thin layer only if you have a specific issue to solve. A comfortable bare lid is a reasonable place to begin.
How do I keep eyeshadow from creasing?
Try a smaller amount, allow the skin-prep layer to settle, and choose either a thinner base or no base. Check how the formula is intended to be worn. If you are sensitive to an eye cosmetic or develop irritation, stop using it rather than trying to cover the reaction.
How do I apply eyeshadow on hooded eyes?
Look straight ahead and place the transition shade where you can still see it with the eye open. Keep deep color close to the lash line or outer area, and use small layers. A visible crease is not required for a finished look.
How do I apply eyeshadow on a monolid?
Start with the visible lid and decide where you want the color to show when the eyes are open. A light-to-medium gradient across the lid or toward the outer corner can be enough. You do not need to create a crease if you do not want one.
What is the best way to apply glitter eyeshadow?
Use a product labeled for the eye area, follow its directions, and place a small amount on the lid after blending other shades. Do not put glitter into the eye or on the waterline unless a product specifically directs that use. If particles enter the eye or irritation starts, stop and seek care for persistent symptoms.
Can I use a face glitter or lip liner as eyeshadow?
Do not assume a product is eye-safe because it is a cosmetic. The FDA advises against using cosmetics near the eyes unless they are specifically intended for that area. Read the intended-use label and ingredient declaration.
How should I clean eyeshadow brushes?
Follow the brush maker's directions, clean tools regularly, and let them dry completely before storing. Do not share eye brushes or cosmetics. If you have an eye infection, stop using eye makeup until the area has healed and discard products you were using when the infection began, consistent with FDA guidance.
How long should I practice before trying a complex look?
There is no required timeline. Practice one placement at a time and stop when the result meets your preference. A repeatable two-shade look is already a complete option; adding more colors is not a measure of skill.
0 comments